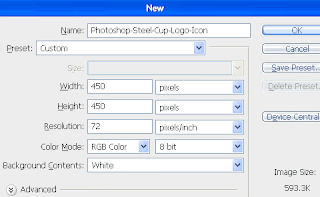
1-First of all Open New Document of Custom Size,Height & Width 450×450 pixels,Resolution 72 & Mode RGB Color
2-Now Open New Layer & then create the following shape with the help of ‘Pen Tool’ right
click select ‘Make Selection’
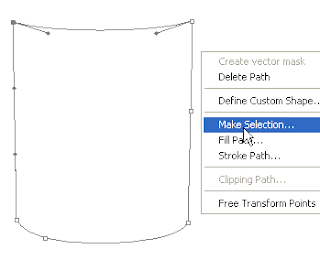
3-In Make Selection ‘Feather Radius’ should 0 pixels,Tick on New Selection & then ok & your
image should look like as shown below
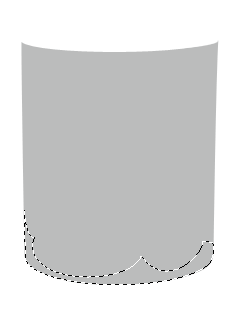
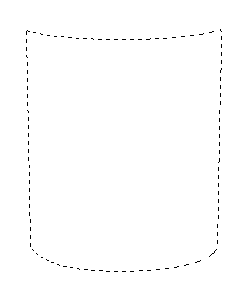 4-Now fill the selection with ‘bbbcbc’ color & then create the following selection with the
help of ‘Pen Tool’
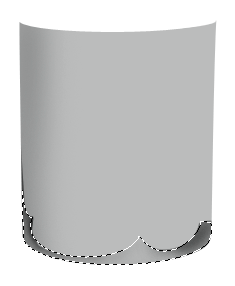
 5-Now select ‘Burn Tool’ & create the following shading
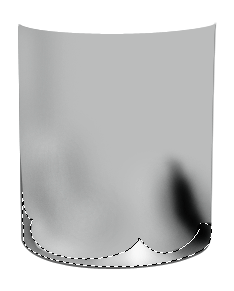
 6-Now select ‘Dodge Tool’ & Highlight the some parts & after that press Ctrl+Shift+I &
create the some shading
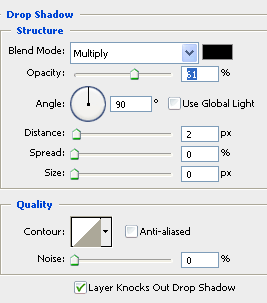
 7-Now go to Blending Options,select Drop Shadow & use the following settings
Photoshop Technique-How to use the Drop Shadow feature
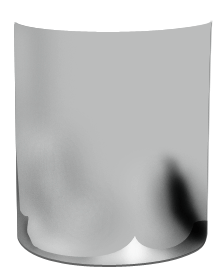
 8-Now your image should look like as shown below
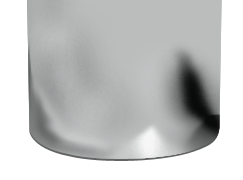
 9-Now select ‘Smudge Tool’ & create the following shading
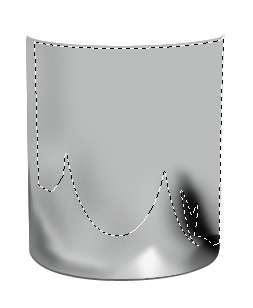
 10-Now Open New Layer & then create the following selection with the help of ‘Pen Tool’
 11-Now fill the selection with same color & create the following shading with the help of
‘Burn Tool’
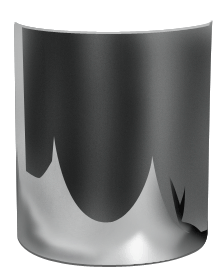 12-Now select “Dodge Tool” & use the following settings
 13-Now Highlight the some parts with the help of ‘Dodge Tool’ & your image should look like
as shown below
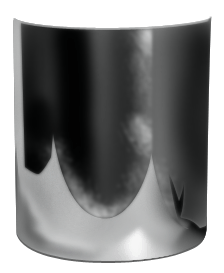 14-Now create the following shape with the help of ‘Pen Tool’ right click select ‘Stroke Path’
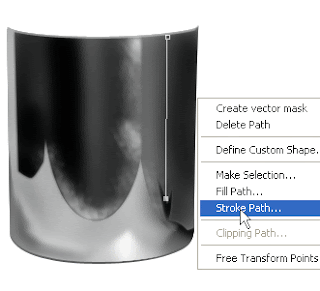 15-Now use the following settings in Stroke Path
 16-Now like this Highlight the other parts & your image should look like as shown below
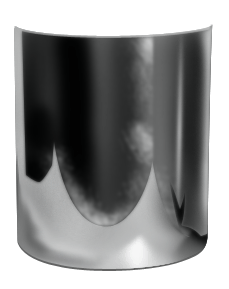 17-Now Open New Layer & then create the following selection with the help of ‘Elliptical
Marquee Tool’
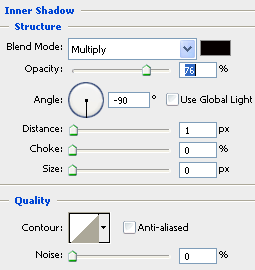
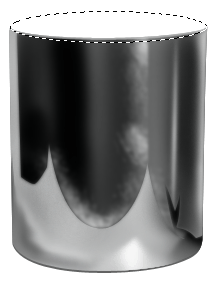 18-Now fill the selection with any color & then go to Blending Options,select Inner Shadow
& use the following settings Photoshop Technique-How to use the Inner Shadow feature
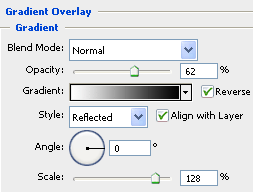
 19-Now select Gradient Overlay & use the following settings
Photoshop Technique-How to use the Gradient Overlay feature
 20-Now Open New Layer & then create the following selection with the help of ‘Elliptical
Marquee Tool’
 21-Now fill the selection with same color & create the following shading with the help of
‘Burn & Dodge Tool’ & after that create the following selection with the help of ‘Pen Tool’
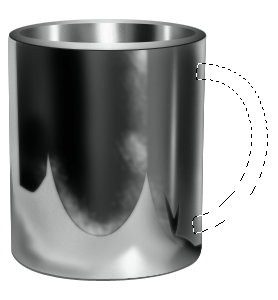 22-Now Open New Layer & then fill the selection with same color & create the following
shading with the help of ‘Burn & Dodge Tool’
 23-Now create the following selection with the help of ‘Pen Tool’ & then fill with ‘000000′ color
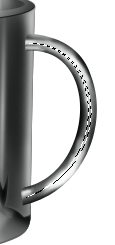 24-Now Make the Duplicate Layer with the help of Ctrl+J & then press Ctrl+T,right click
select ‘Flip Horizontal’ & then press ENTER
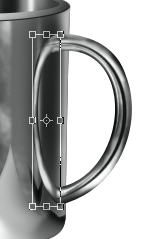 25-Now Open New Layer & then create the following selection with the help of ‘Pen Tool’
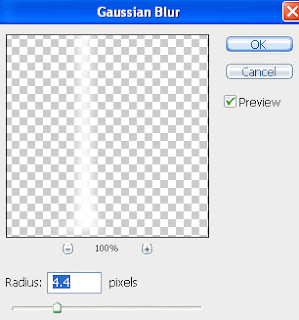
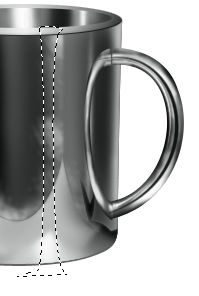 26-Now fill the selection with ‘fffffa’ color & then go to Filter>Blur>Gaussian Blur & use
the following settings
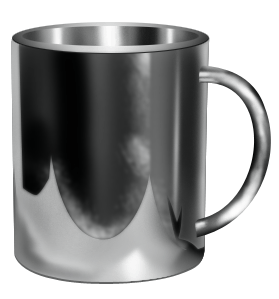
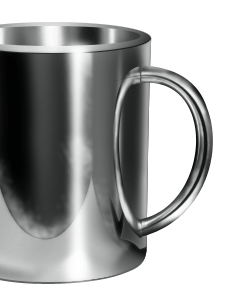
27-Now your image should look like as shown below
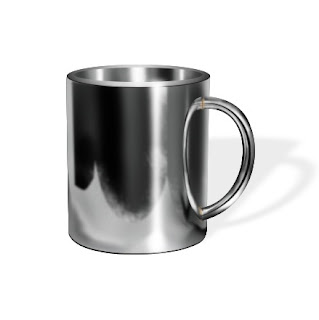
 28-Thanks for read this Photoshop Tutorial.I hope this is a good tutorial & u can use these
Photoshop Techniques in your Graphics Design Project
